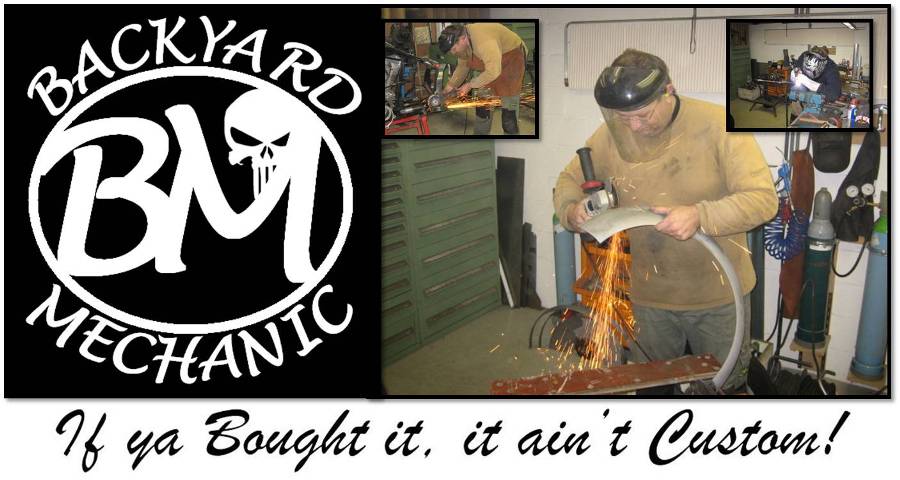
Spend another few hours in the workshop today finishing the gastank. Some friends came over for a drink and a coffee. Somehow they always end up in the workshop as well, hahaha. The extra hands where welcome and things got done a little quicker, nice...
Welded some extra strips to the inside of the gastank to fit the oldstyle dash and made myself a tankcover. With some holes to match with the rest of the bike.
I am so pleased I decided to get rid of the stock 5 gallon gastank. This modified 3.5 gallon fits the bike much better. Another job done!
Backyard Mechanic, Don't Buy an image, Build one! ....DBAIBO you fuckers....
Sunday, 30 May 2010
Saturday, 29 May 2010
Frogeyed gastank, Action required
Have been looking at my modified gastank for a few weeks. Everytime I looked at it, I was wondering what was wrong. Then it hit me, It has frog-eyes!
Time to move the gascaps fillernecks a bit to the middle.
Than my mind starts wondering if I should do something more special and mount some different ones. Looked at internet, looked at some fat parts catalogs but I couldn't find anything that inspired me. Thus.........decision time, I decided to keep the stock ones and to put some special work into the gascaps I have.
You'll see what I mean in the next few weeks.......to be continued
Sunday, 23 May 2010
BM T-Shirts, The promo
Boosing! close to home
Sunday, 16 May 2010
Modified and improved
Cut the gastank
The more I look at the 5 gallon gastank the more I start to dislike the wide backend of the tank. I have moved the seat back a good 6 cm and the contrast between the wide tank and the narrow frame is disturbing me. Got myself a 3,5 gallon and started cutting it. Narrowed the backend with 1,5 cm and widened the front with 4 cm.
I think we have ourselves a winner.
Back to the workshop................
I think we have ourselves a winner.
Back to the workshop................
Saturday, 15 May 2010
The Pukes Rock!
Spend the night at Camping de Hei because 'The Pukes' where performing and I was told this was going to be a good night. Wrong.......It was a great night! Fock these guys play tight. Don't be mistaken, no smoke machine in this place, just a burn-out to create the necessary atmosphere and smell. When they perform again, I'll be there.
Damn this Harald guy has got a great T-shirt. I need to have one too. Ghe ghe ghe............
Thursday, 13 May 2010
Heat shield...Exhaust ready!
Finished another part of the bike today. The Exhaust is ready for its enamel treatment. Made and mounted a heat shield for the rear pipe. Always fun to make these little add-ons. These are the details that can make a bike stand out from the rest. Tried something new today, I pushed the mesh through the holes using a steel ball and a hammer. Makes the piece look just that more special.
Tube Bender, I want one!
Yesterday I decided that I am buying myself a tube bender. I've been making exhausts and any other jobs that required making bends by using stock bends welded together with straight pieces of tube. This always requires me to spend a shitload of time on grinding and polishing afterwards. Look at the fat apehanger I made recently. No more...........I'm making an investment. Yeah.....boys and their tools
Monday, 10 May 2010
Shaft drive in Hardtail construction
This is how I constructed the shaft drive mounting in my hardtail yamaha chop. This construction is working without issues for about 15 years now. The trick is to make sure that the twisting forces of the shaft drive have enough twisting flexibility in the overall frame construction that it can move without breaking the frame tubes.
Enjoy building your own.
Sunday, 9 May 2010
Grinding and Sanding!
Some days of bikebuilding are not glorius or fun, they are hard work and dirty.
Finished welding anf grinding my newly build big fat apehanger today. Keeping the tube nice and round is a bitch of a job. Pfoe, I am happy it is done and I am pleased with the result.
Next stop..............Powdercoat again, black and shiny
Before
Finished welding anf grinding my newly build big fat apehanger today. Keeping the tube nice and round is a bitch of a job. Pfoe, I am happy it is done and I am pleased with the result.
Next stop..............Powdercoat again, black and shiny
Before
Friday, 7 May 2010
Old Pick's, Another rebuild
Found some old pics from about 15 years ago when we where renting a workshop from a farmer nearby. During the summer holiday that year, the rear-end of my frame cracked and I had to do a "on the spot" welding job to get home.
When we got home after 3 weeks I decided to cut-off the rear-end completely and make space for the wider car tire.
Just realised I'm becoming one of the "old" fuckers, that tell stories about cutting, welding and building in the yesteryears, hahahaha......
When we got home after 3 weeks I decided to cut-off the rear-end completely and make space for the wider car tire.
Just realised I'm becoming one of the "old" fuckers, that tell stories about cutting, welding and building in the yesteryears, hahahaha......
Wednesday, 5 May 2010
The Mother of all Apes!
Spend today making a big fat apehanger. The one I had was just to skinny for the bike. Decided to use some thick wall 35mm pipe and to start-up the bending machine this morning....
Made the Ape in parts, which make it easier to make the bends equal from left to right. Took a bit of time and some tinkering, but we got it right in the end.
Had to use Joshua's acetylene torch to shrink one of the bottom bends, which worked out perfectly. Next weekend some final grinding to do, but for now I am very pleased with the result.
This Ape matches the fat look of the bike, the bends are smoother and the build-in risers give it a cleaner look.
Sunday, 2 May 2010
Beltcover
Subscribe to:
Posts (Atom)